A friend asked how we might be able to selectively tone an image using the Gimp. His goal was to make the whites white and the blacks black, but have the mid-tones hold some interesting color.
As with everything digital, there are a gazillion ways of doing things. For mid-range toning, here is just one way.
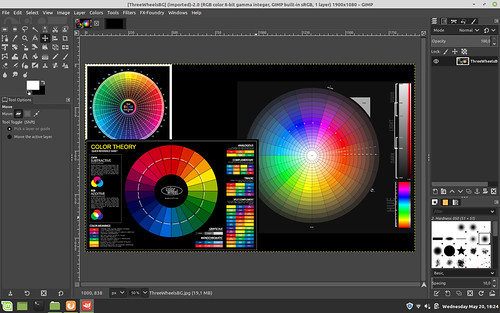
Step One - load a color image into the Gimp. This will be the base layer.
Step
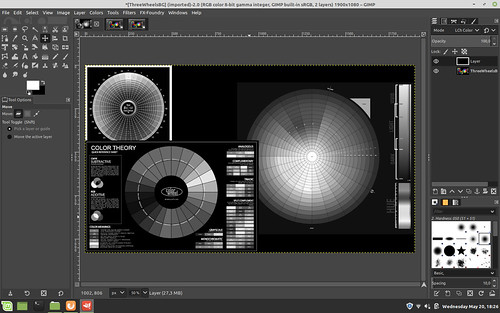
Two - convert to Luminosity (human eye tonal intensity matching) black and white. You can do this by
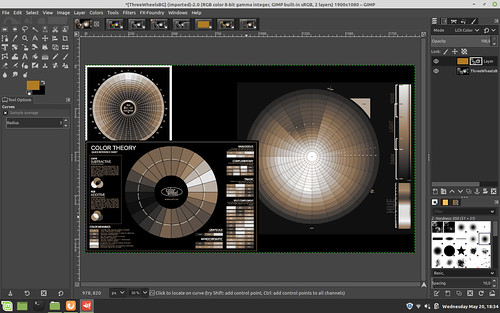
adding a BLACK layer over the base color image and setting the blend
mode to "Lch Color" (shown below prior to flatten image) and then flatten the image
in preparation for the next step.
As an aside: I see that by using
Luminosity curves in a black and white conversion that I get the kind of
tonal separation that I prefer in my black and white images. In fact this approach, to me, is so good that old silver halide film can not match this.
A simple
digital de-saturation (which is what old film used to try and achieve with its "panchromatic" product offerings) makes things muddy. A filter over RGB curves doesn't give
exactly what I wish. Your mileage will vary, of course.
So once you have a black and white image, however you get there, you can move on to step three.
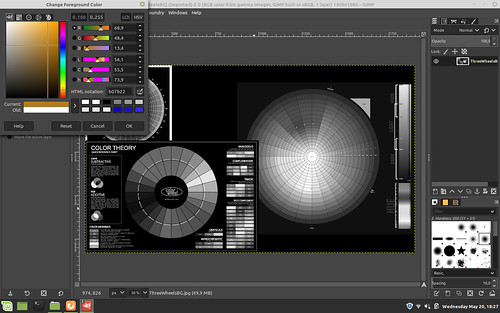
Step Three - Set the foreground color to something "interesting". There are a number of colors that emulate things like cold silver, warm tone palladium, sepia toning, etc, etc, etc. Choose something you like.
Step Four - Add a layer over the base black and white image using the foreground color you just selected

Step Five - Put the new color layer over the base black and white image. Then select Layer -> Mask -> Add Layer Mask and add a white mask to the color layer.

Step
Six -
Select the base image (in this example the color wheel image in the base layer) and select Edit -> Copy Image
Click on the White color layer mask to make it active. Then select Edit -> Paste. This will add a copy of the base image as a Mask to the Color Layer.
Now set
blend mode of the color layer to either "Lch Color" or "HSL Color" - your
choice

Step
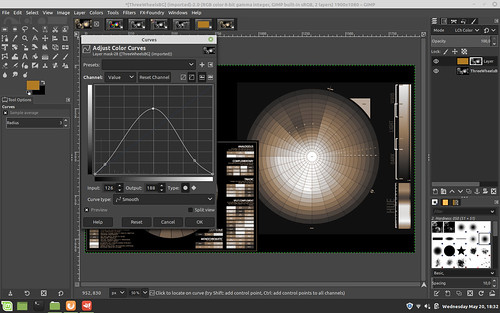
Seven - Open "Curves" on the Mask image and set the curve as seen below
NOTE: by raising the center of the curve, you _add_ more color to the
mid-tones, but only if that's the effect you want. Play with this to see how your base image toning changes.
NOTE 2: By lowering the ends
of the curve you make the whites whiter down the tonal range and the
blacks blacker up the tonal range. For myself, I don't mind a bit of
color in the blacks, so I raise that black end of the curve - to taste,
of course
Step Eight - Verify your results. Flatten your image and save.
No comments:
Post a Comment